The first salve I'll be making here is a healing salve. It is to be used on burns, cuts, scrapes, bug bites, bee stings, diaper rashes or any kind of skin irritations. It contains echinacea root, echinacea leaf, plantain, comfrey, calendula, yarrow and rosemary.
We've been using this salve on EVERYTHING with pretty good results! My greatest discovery with this is that it has solved my ring problem. Ever since I was pregnant with Havilah, my wedding ring has caused great irritation to my finger. A rash breaks out and I have to stop wearing my ring for a good week or so before it finally clears up. I tried just putting a little salve on my finger and putting the ring right back on and it healed it right up! Every time it starts to feel irritated, out comes the salve!
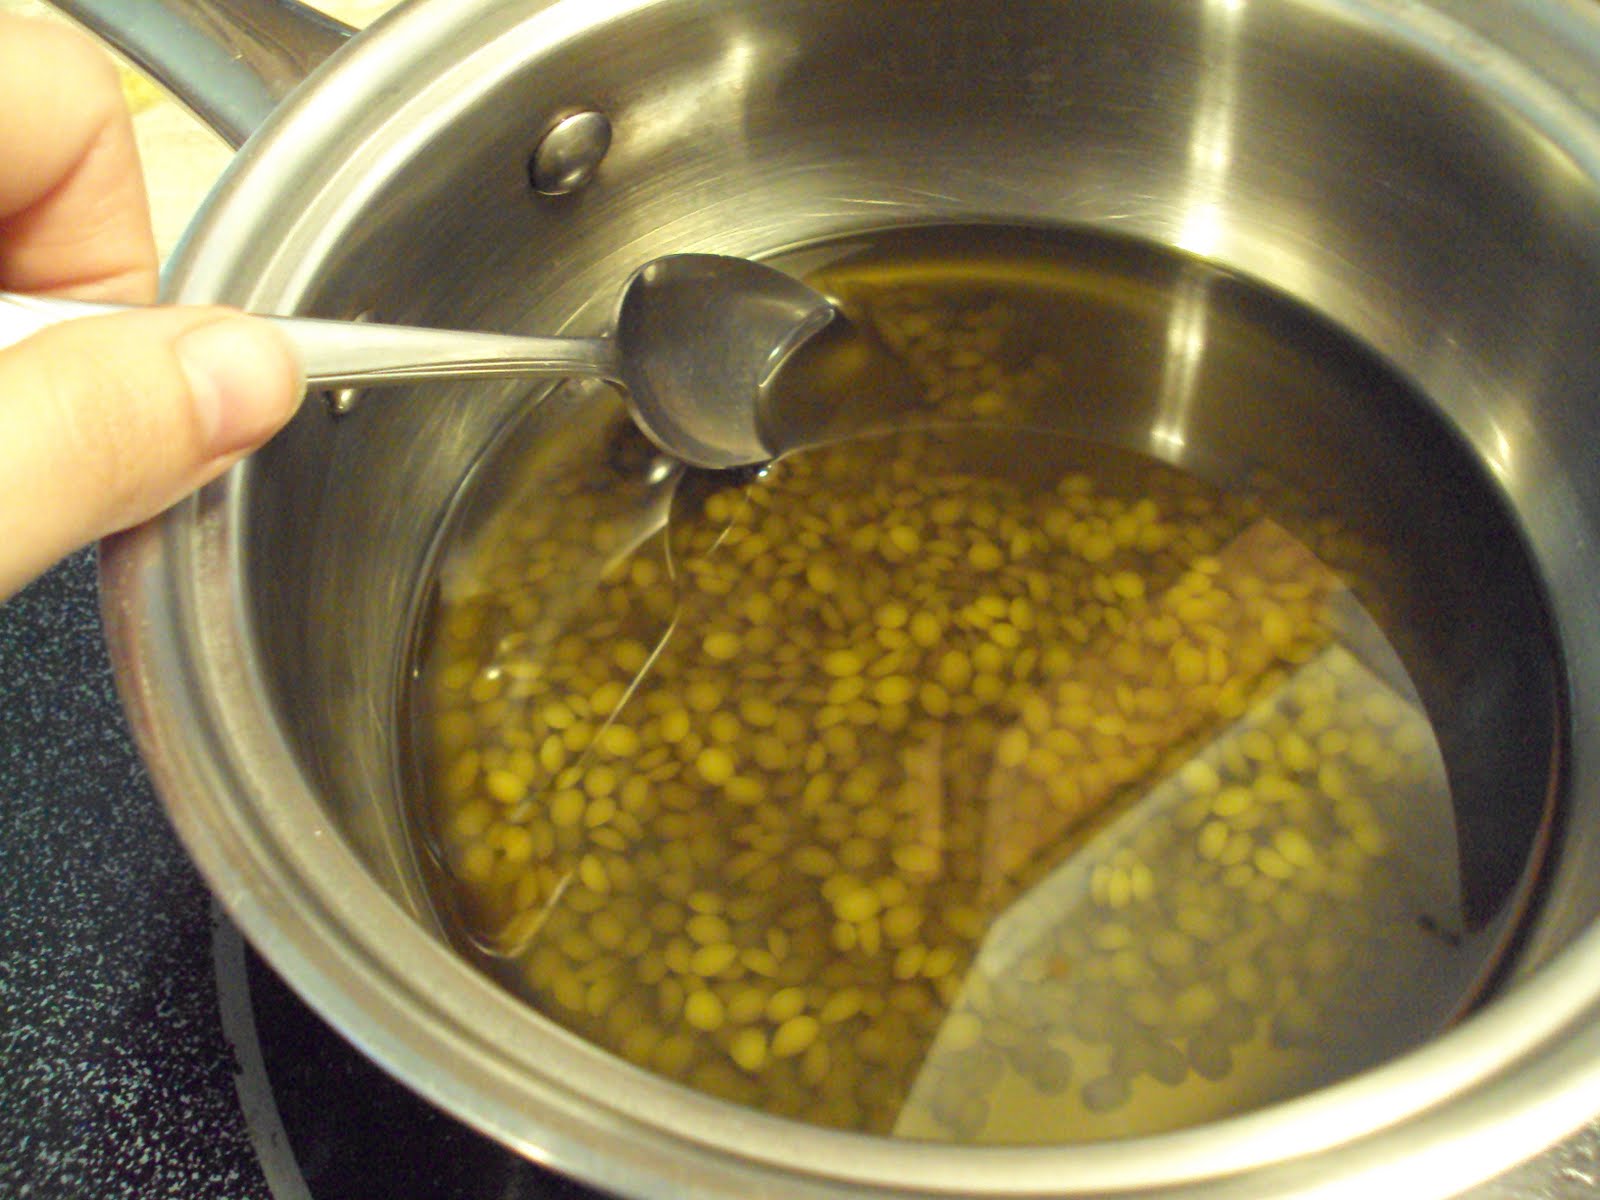
Step 1~ Once again, stuff your jar 2/3 of the way full with the herbs of your choice.

Step 2~ Fill jar with oil of your choice. I've used coconut oil and olive oil. I found the coconut oil to be much too stiff but have had wonderful results with the olive oil. I only use it now.
Step 3~ Just like with the tinctures , place the closed jars on a wash cloth in a crock pot. Fill with water until just below jar rims. Cover and turn on low for 3 days.

Step 4~ Strain herbs out of oil. For the salves I've found that a canning funnel and a coffee filter work wonderfully! Make sure that you strain it right away however as the oil thickens as it cools.


At this point you have infused oil which is wonderful when used for massage or for a wound that you don't want to have to rub anything into. I try to keep some of this in oil form.
Step 5~ Weigh out and add your beeswax. You want about 2 ounces of beeswax for every 8 ounces of oil. If it's too soft, add more beeswax! If it's too firm, add more oil!
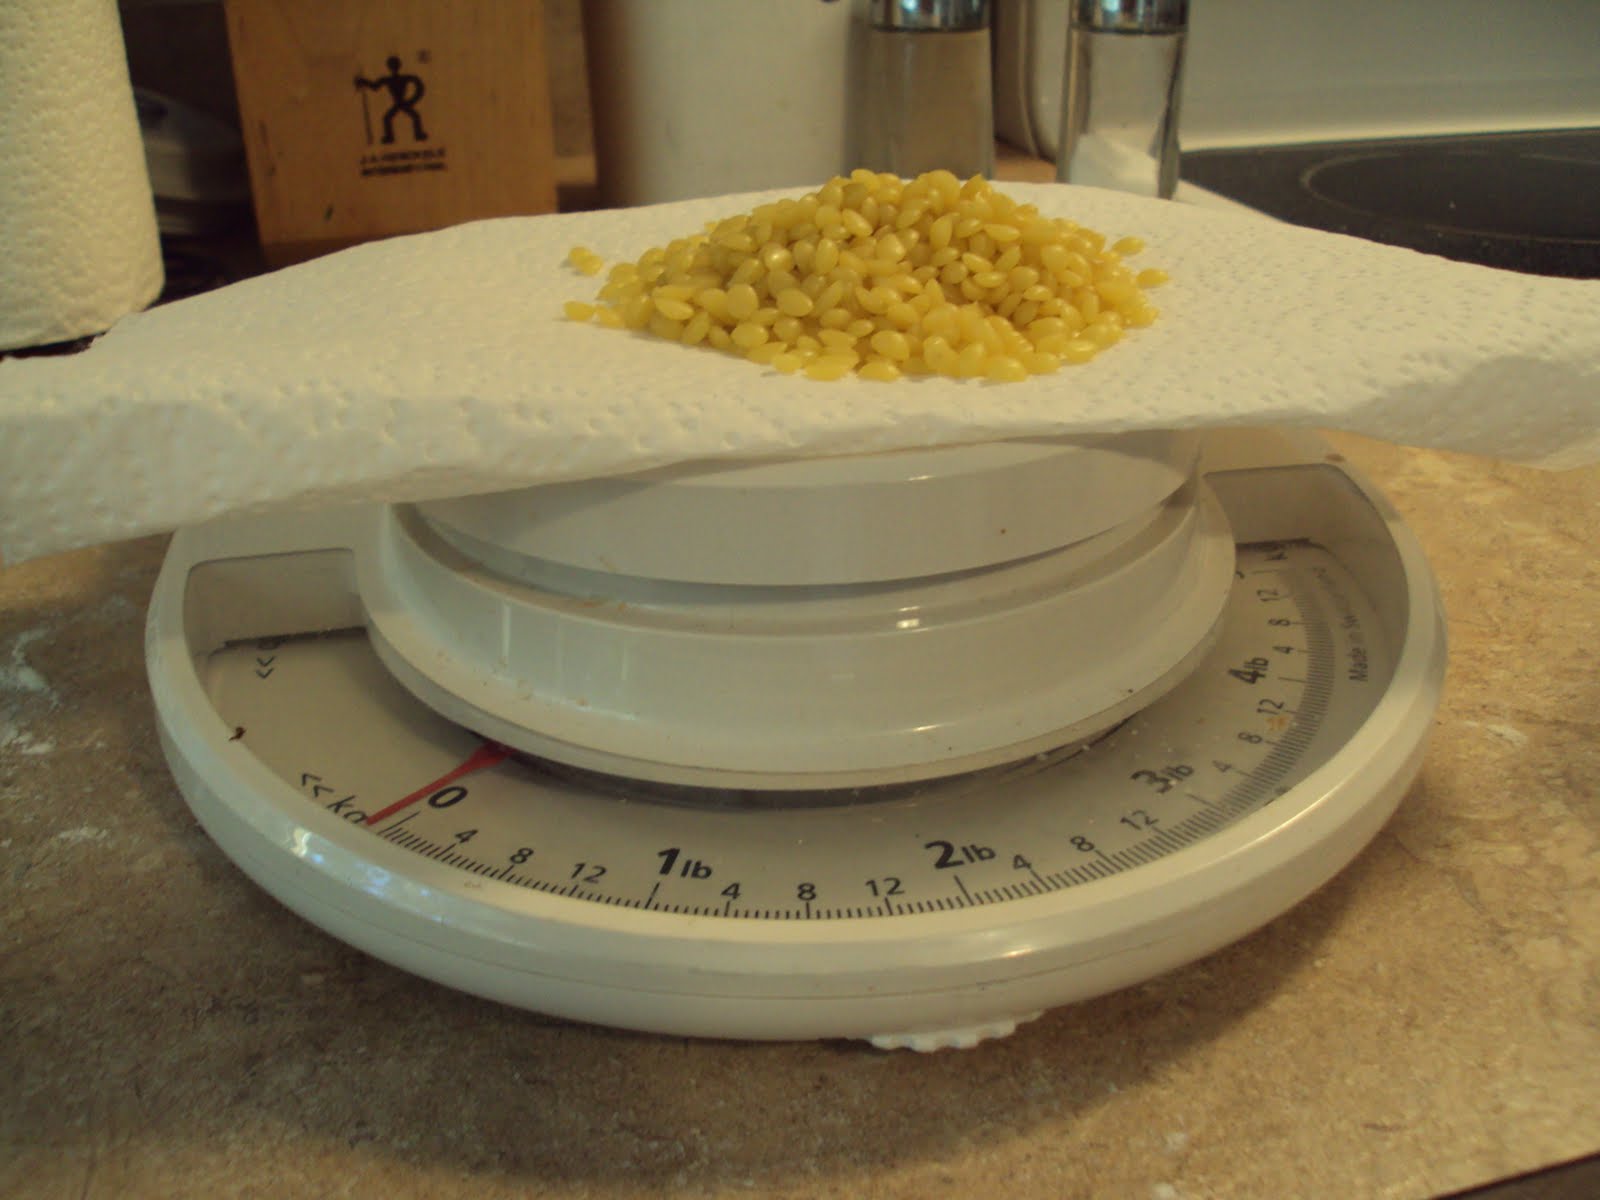
Add the beeswax to the oil and warm slowly. Add approximately one drop of Vitamin E oil for every ounce of oil to act as a preservative. If you add the vitamin E oil, it should last for 5 years!

Step 6~ When melted, quickly pour into ready containers.

Make sure to scrape out the hardened bits from the pitcher, pot and spoon. It's all good salve! You can melt it down again or just add to your container.

Step 7~ Wait a couple of hours for your salve to harden. Now you've done it! You've made your very own salve!!!!! I got 2 ounces of infused oil plus these four containers from one pint of herbs and oil.

The other salve I've made is designed for sore muscles. It contains St. John's wort, arnica, comfrey, lobelia, peppermint and cayenne. This is one that my husband actually asks for!
One more post to come on just a few more random herb stuff and then back to our regular posts! If you have any questions ask now and I'll try to cover them!
4 comments:
Thanks for sharing the how to! I have the same problem with my wedding ring! When I'm pregnant skin under the ring flakes and peels, it lasts until several months after the baby arrives too. I'm going to try this next time we are blessed!
Thanks for sharing this Grace! I'm excited to try it now!
I love this. I did have a ??. I would like this 'recipe' for the one for sore muscles. Sounds like something my dh would like............
I am enjoying this very much! Thank you so much for sharing. I plan on trying this very soon. I love how you post pictures! I love knowing how everything should go.
BTW I have made lemon curd 3 times, thanks to your recipe. See how you affect us folks with your fun ideas!
Post a Comment